Tag Archives: Dye

Indigofera Suffruticosa Roots

18 May

I usually don’t pull up my precious Indigofera Suffruticosa until grudgingly certain the plant has given up the ghost. Last time I pulled up IS was about three years ago when I got hit by a hard freeze. I lost all of my plants and did have to pull everything up. I remember that was difficult but they’ve been in the ground for three or four years. So this past winter I did lose a two year old plant, but the same vintage plants around it survived. So, here is a replay of the pull..

Two year plant succumbed to winter 2019/20 freezes.

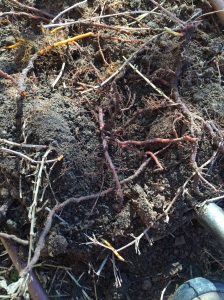
So, the plant broke at ground level, not surprising since I have been doing spring watering. Rot has set in with the irrigation moisture on deadwood. So here is our second try at pulling the root.

So, yes, after two years full growth, the roots are deep. I won’t take a shovel to it due to its proximity to other plants. That root will stay in place.

And for those who remember my sad plant ravaged by caterpillars, it lives. Transplanted to a pot and spoiled for a couple of weeks the leaves are making another appearance. This will go back into the ground soon. It still looks sad but with the increasing warm temps and a permanent home in the ground it will thrive.

When one experiments

22 Aug

I was trying for indirubin red with Japanese indigo….no success…yet!

Fresh leaves-chopped

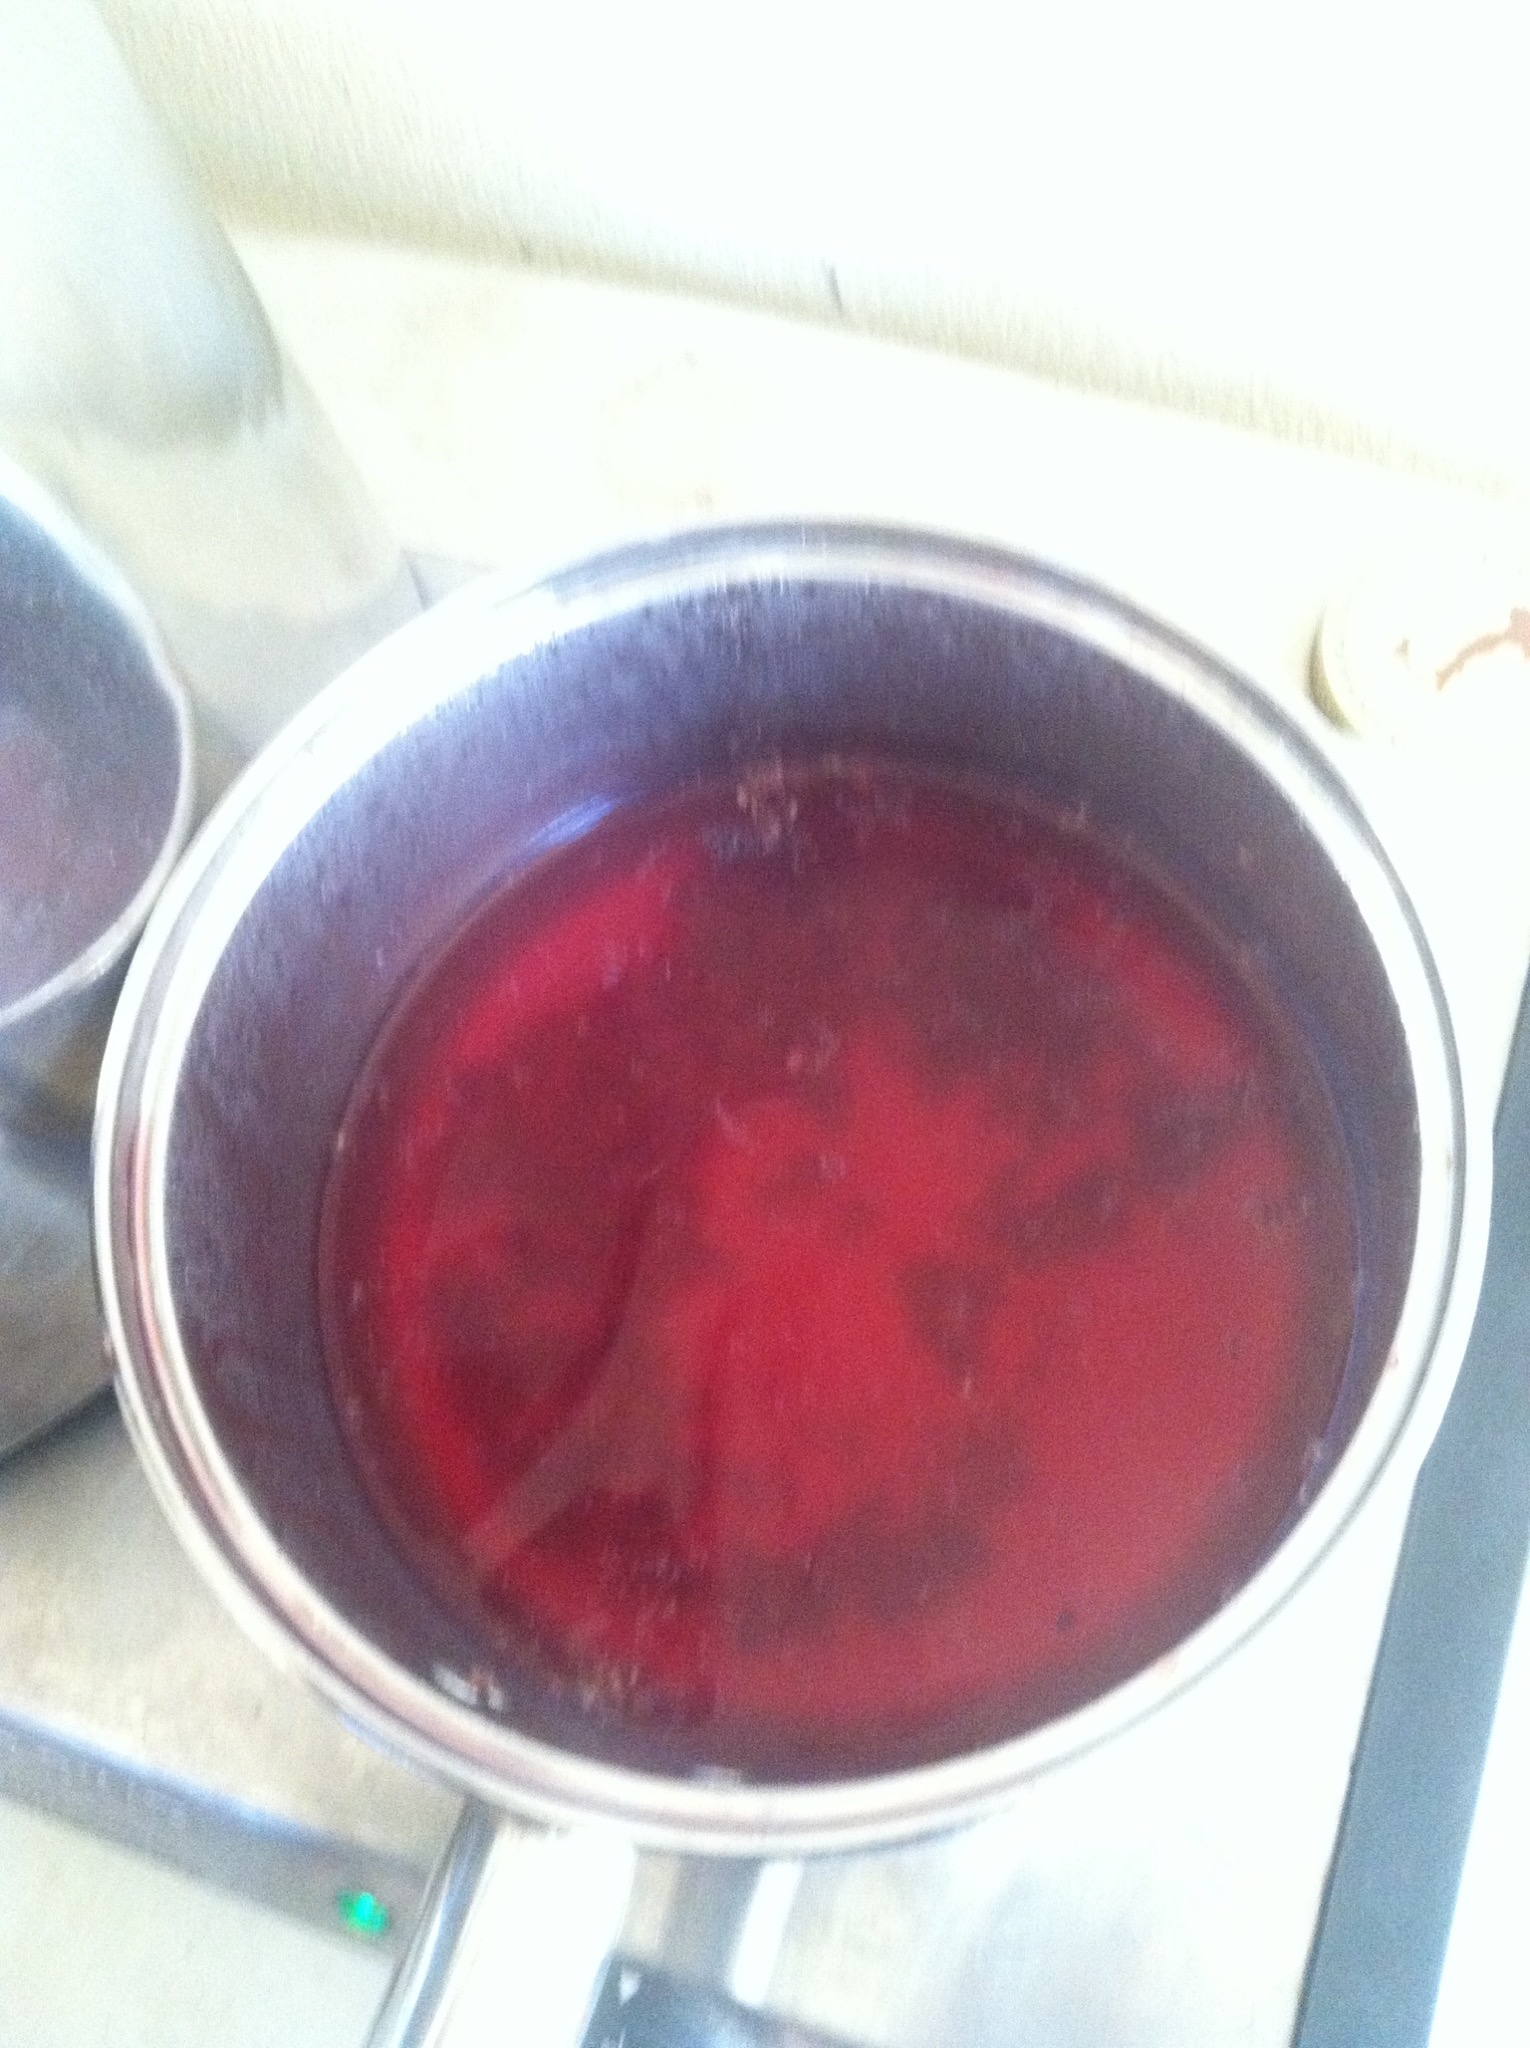
Bring to boil in double boiler-will push to grey

Add the cloth as water bubbles, cloth should turn red as bubbles hit cloth.

Notes also said add more vinegar to push the red.

Now….no red but a very good moss green. Lightfastness still to be tested.

Samples

V= left overnight in vinegar

O= left overnight in JI stew + vinegar

Right hand sample pulled from pot & rinsed immediately.

Negative research is good. I will try again with a different method. This recipe boggled my mind as I don’t think of a process of Japanese Indigo with boiled water.

Life Interrupted By Dementia

2 Dec

I don’t post my finished product much to this blog. I tend to focus on “the process” but here is an exception. Much gratitude to Linda Haddock at EchoInJohnsonCity for her generosity in creating a salute to Dementia Awareness Month. My natural dye block woven rug which she purchased via the Hill Country Science Mill Auction is featured in her store.

A brief tour of the Echo Art Front Board

10 day difference for Japanese Indigo seedlings

30 Mar

10 days & temperature increases and sunshine made a big difference. March 17th I planted my Japanese Indigo seeds, by the 27th I had sprouts! I ordered the wrong seed tray. Duh, but seeds planted in new tray sprouted sooner than my old method. I am smarter now despite myself. Next up I will plant my Indigofera Suffruticosa seeds. I’ll throw Cota and Hopi Sunflowers into the mix this year also. Maybe I can beat the birds to the seeds for dye this year.

I am still on bud watch on my older Suffruticosa plants. Will the 3 year old plants live longer? Did the freeze this January take the younger plants out? The drama of gardening continues.

Plus the Texas Persimmon is budding and blooming. Before I know it I will be out picking persimmons in July for the dye.

Dye Thrums from CHT 2015

28 Feb

I had the privilege to speak about natural dyeing at the Contemporary Handweavers of Texas 2015 Conference in Austin, Tx in late June. As most teachers know, one touches on subjects to make students aware of potential paths but class time constraints prevent one from delving into the details. I needed to stay on the subject of natural dye basics but couldn’t resist mentioning some of these items. One of my students, Fern, was gracious enough to capture a bucket list of those interesting “time sinks” for me.  Thank you Fern!

Below are random references for folks that attended my lecture to wander at will. Take your time, enjoy and thank you for letting me share the joy of creating color with you. What color is in your valley?

My apologies, this blog entry covers a lot of ground and no pictures are within this blog post BUT by popping over to some of the links there is plenty of color photos and information created by some of the most talented teachers I have had the privilege to train with.  Regards Deb Mc

  • I spoke of symplocos, a natural mordant sourced from leaves. When used it gives a slight yellow cast to your fibers BUT that disappears when you put your base color over it. There is a lot of information in the links below. Consider running some dye pots comparing your mordant choices, alum acetate, alum sulfate and symplocos. Consider the higher cost paid for the mordant as a source of support to the folks who gather the leaves. Also consider the limited nature of such a resource.

Natural mordant from leaves, sourced from Indonesia   http://plantmordant.org/symplocos/

History of use http://plantmordant.org/symplocos/history-of-symplocos-use/

Consider running some dye pots comparing your mordant choices, alum acetate (cellulose) or alum sulfate (protein) and symplocos. The website above has ample instructions on the different ways you can use the mordant for different fibers.

  • As opposed to gathering natural dye bulk material, natural dye extracts are a good way for those who cannot gather to experiment with natural dyes. Upon occasion folks remark to me that extracts are expensive. Experiment with it and learn the recipes. Focus on one type of substrate (type yarn) and learn the percent that you need to get to the color you want. Learn how to fully exhaust your pot to pull all the color. I’ll give you a couple of sources that have outstanding instructions for extracts on line or available for sale. Not only do they offer extracts but most carry some of the bulk natural dye material. Please understand there are many other retailers out there at your local festivals that sell natural dye extracts. Try to support local merchants but don’t hesitate to use our global economy. You are helping someone support themselves in their village and you can stay in your village and enjoy their colors. The links provided gets you to their site. Take time to look thru these websites to see their extracts for sale, the mordents AND the awesome online instructions.

Natural Dye Extract Suppliers in alphabetical order:

  • Botanical Colors https://botanicalcolors.com/product-category/natural-dye-extracts/
  • Earthues http://www.earthues.com/natural_dyes/extracts (workbook also on bibliography)
  • Maiwa (Canada $$’s) http://www.maiwa.com/home/supply/index.html
  • Online groups enable us to share information and learn. Technology keeps changing but for today Yahoo and Ravelry have solid groups that share information. You can join these Yahoo & Ravelry groups and search their achieves. Both groups are fairly gentle with beginners but it is always good to ask specific process questions and cite what research you have done beforehand. Both Yahoo and Ravelry require you to join. Facebook has some natural dye groups but I’ve found them difficult to research and find/mark information for retrieval. Hopefully technology will advance.

Yahoo Groups, search for NaturalDyes (active) and sustainablenaturaldyepractice (low activity)

Ravelry, search for Natural Dyeing (process) and Plants to Dye For (growing and dyeing)

Facebook, search for Natural Dyeing, IndiGrowing Blue, Indigo Dye, Indigo Pigment Extraction

  • I spoke about pulling color from wood chips. Sandra Rude of 3 Springs Handworks has written an excellent paper on using woodchips for color.

I will repeat a safety warning. Using alcohol is a good way to pull color from your wood chips or sawdust BUT do not use open flame for your dye bath. Use electric heat for safety.   You do not want to flambé yourself or your skeins. Safety FIRST!

The link is below. Look for “Instructions for Extracting Color from Wood Chips”.

http://www.3springshandworks.com/Extras.htm

  • I showed some examples of using pigment I pulled from my dye baths to paint and screen print with mordants. That is an advanced subject that I won’t address in this entry. Know that a way exists to precipitate out color from your dye bath and merits research if you pursue natural dyeing. Both John Marshall and Michel Garcia address this from different points of view. I’ll give links to these gentlemen below. Probably the best book I’ve had recommended to me is Natural Colorants for Dyeing and Lake Pigments, Kirby, et al. Search on line, it is pricy and would be a good guild book. An individual could probably find it via library loan or a university library to see if you want invest in the book or explore the process further. Others might exist but this book give historical context and experiments.

Another resource is this paper by Kirby online, this was the precursor to the book above, give it a moment to load. http://www.doernerinstitut.de/downloads/Back_to_the_Roots/Back_to_the_roots_Kirby_I.pdf

  • Michel Garcia was known for his natural dye plant garden in France, and he is now teaching about natural dyes and the historical indigo fructose method. He also addresses printing and precipitation of dyes. His lectures are worth attending for their botanical and historical content. His dvd’s should be in a guild library for member reference. They provide a wide scope of information and provide a chemist’s point of view. Take some time to read his background and look up his botanical garden.   https://shop.slowfiberstudios.com/collections/video
  • John Marshall is a fiber artist and most excellent teacher. He lives his art through the Japanese tradition and uses soy milk as a mordant to create his artwork. He does use Japanese pigments in conjunction with the soy milk and has written a booklet and provides instructions on his website. His booklet should also be in guild libraries.
  • Here is his home page: http://www.johnmarshall.to
  • Here is the soy booklet: http://www.johnmarshall.to/I-bookSOY.htm
  • Here are his online instructions: http://www.johnmarshall.to/H-Soymilk.htm
  • Here are his references to pigments: http://www.johnmarshall.to/H-DyesPIGMENTS.htm
  • The University of Nebraska offers space via Digital Commons to organizations like the Textile Society of America (TSA). Digital Commons are Institutional Repositories (IRs) which bring together all of a University’s research under one umbrella, with an aim to preserve and provide access to that research. IRs are an excellent vehicle for working papers or copies of published articles and conference papers. Presentations, senior theses, and other works not published elsewhere can also be published in the IR.

The 2010 proceedings are probably the richest in dye reference material as that was the conference theme. Look at some of the papers. I referred in my lecture to the South American cochineal harvesting process. Here is it, provided by the TSA organization.  Consider joining them to support textile research around the world.  We are thankful for the clear photos and comparison of methods. Without the Digital Commons, how would we access information like this without traveling? http://digitalcommons.unl.edu/tsaconf/39/

And finally, folks asked for a natural dye bibliography, this is what I recommend for beginners,  Here is my list….

Books as of 07/2015 sort by title, **first dye books recommended for beginners

A Dyer’s Garden ** Rita Buchanan

ISBN: 1-883010-07-01

Approach to natural dyes via touching the ground

Indigo, Madder & Marigold  Trudy Van Stralen

ISBN:0-934026-86-6

Good equipment chapter for beginners. Basic instructions for dyestuffs readily available.

Natural Dye Instruction Booklet** Michele Wipplinger

http://www.earthues.com/natural_dyes/books

Excellent summary on use of natural dye extracts various techniques

Natural Dyes – Sources, Tradition, Technology and Science

Dominique Cardon                   ISBN-10: 1-904982-00-X

Belongs in any fiber guild library, provides cultural, botanical & practical natural dye research spanning our globe

Salvation Thru Soy John Marshall

http://www.johnmarshall.to/I-bookSOY.htm – http://www.johnmarshall.to/I-bookSOY.htm

Different cultural direction to apply natural dye to cloth

The Craft of Natural Dyeing                                                          Jenny Dean

ISBN: 0 85532 744 8

Solid beginner definitions, nice approach to mordants and modifiers

Wild Color **    Jenny Dean

ISBN: 978-0-0230-5879-2

Great index and table of contents for reference. Best mordant and modifier (assistant) table available.

Final Harvest

11 Jan

Finally! All indigofera suffruticosa seed polls cracked, hulled & winnowed except for a couple of renegade pods. The winds were useful today. Next up winnowing Japanese Indigo seeds.

San Antonio lecture 9/10/16 – The Color of Nature: Exploring Roots, Wood, Bugs, and Berries

22 Aug

Sponsored by the Friends of San Antonio Natural Areas – September 10th 10am – noon at Friedrich Wilderness Park classroom located at 21395 Milsa Rd. San Antonio, TX 78256

Explore the natural history of color while learning contemporary application techniques. This talk will include practical aspects such asbinding agents as well historic uses. Participants can view examples of the colors produced by Texas lichens, cactus tuna, cochineal, Texas agarita, and more! For centuries, people have used natural dyes using locally available plant, mineral and even insect sources. Today, choosing natural dyes over the chemical alternative is becoming more popular as we move toward more sustainable ways of living. This workshop is presented by Deb McClintock, local artist and textile designer. For more information, call (210) 207-3782, or email nicole.mcleod@sanantonio.gov. Suggested donation: $3 per person, or $6 per family.

Click here to make a reservation – donations are suggestion but not necessary, look for the September 10th lecture.  http://fosana.org/calendar/


Prepping madder for cold dye

24 Mar

Well, prepping madder root for cold soak is sorta a misnomer in 80 degree Texas spring weather. But I’ll stick with a Tx cold soak.

I took 100 grams (3.5oz) each of my 3 year large root & 3 year small root madder vintages and soaked them in 4 cups of water in the sun yesterday and overnight. Result was softened roots with the dirt and skin loosened.

I strained off the first 4 cups of water, set it aside and cut the larger roots with scissors so they would not jam my blender.  Then into the blender with 4 more cups of water.

The first blend water was poured off again and reserved with the overnight soak water. You could see the dirt and skin that had loosened.

Into the blender one more time on high and the roots were pulverized for more soaking. Pouring off the soak water and the first blend water will, I hope, keep the brown accents out of my red.

The madder slurry was poured back into the holding jar with its water and set out to sun simmer again for a couple of sun days until I am ready to add my silk.

Now, you can bet after this effort that I cringed when I lost some of my dye stock on the floor by pouring too fast. Grrr, breath and go slow, the madder has already taken 6 years to grow. What is my hurry?

I repeated the process with another batch of my 3 year small root vintage and reserved the wash water again.

So now, the 3 &year small and large roots are solar heating for age color comparisons.  The wash pull is waiting for me to do something with it. Hmmmm, pull pigment or dye silk, choices exist.

note: edited 3/20 to reflect batches processed were 3 year large root and small root…100 Grams each!

Harvesting Madder Root In the Texas Hill Country (aka Texas Red)

2 Feb

imageHarley will assure you I grow madder root for his napping and bug hunting convenience. Despite his beliefs, I am experimenting with growing madder root as a crop with our alkaline soil and high PH well water. I don’t believe I will need to add calcium to this madder root to get to a deeper color. More on dye experiments later this month. This post is all about the digging and madder root prep.  I am making an assumption most folks don’t and won’t grow their own madder root and would enjoy living vicariously thru my harvest.

Why do I? Because I can and I hope it will be a decent cash crop.  You don’t grow madder for its beauty.  It is invasive, scraggly and very scratchy. The tiny yellow blooms and purple/black berries are pretty but small. The mockingbirds and pill bugs LOVE the madder berries!  It is a good rotation crop, if you can call every three years a timely garden rotation.  Once you get it established it takes very little water and just grows.

I had two madder beds to harvest, one three year and one six year bed.  I did take the trouble to keep the vintages separate so I could test the color yield on the two vintages.  The six year bed came about because of a shoulder injury and subsequent surgery which diminished my enthusiasm for heaving roots with a pitchfork.  Once I run some test dye baths we’ll see if  a six year vintage happens again or if a three year rotation will suffice.

image

To start the harvest I clipped off the green cover leaves and stalks. That leaf cover crop will give you a nice series of yellows and the leaf stalks will give you a light tangerine. You can plan out your bed harvest to take that portion of the crop to the dye pot and simmer your dye stock while you are digging the roots. I am sorry to say I just cut the leaves & stalks and put them out on the septic field for the deer to munch on. There are historical reports about livestock eating the madder root and developing red bones. I’m thinking some deer hunters around here will be scratching their head if they harvest any of our deer.  I had a lot of digging to do and a tight timeline and wanted to get to it, so…happy deer!

image

A garden friend and fellow weaver, Jeannette, came up from San Antonio to help me with my 2nd day of harvest. She wanted to see the plant first hand and learn more about the dye process. Her reward for her hard work was ample madder seed, fresh madder root and some commercial dried madder root for comparison for the dye pot. She went home with ideas for her own madder bed.  My back appreciated Jeannette’s help the 2nd day very much.

It was nice to have someone with which to celebrate the big root “finds”.

image

We dug, shook out dirt, washed and rinsed the madder harvest and set it out to dry.

If one is going to pull a big crop I can’t stress having enough tarps for sorting/rinsing and drying racks to manage the roots as you process the crop.

image

image

image

Above you can see the depth of color these tap roots hold! I think these will yield the deepest color.

Below is about two thirds of the crop laid out to dry.

image

image

After a couple of weeks of drying and the next spell of clear weather I stomped the crop to clear more dirt and clipped the roots apart. The size sorting within the vintages began at this point.  There are the root clumps, the “finger size or larger” madder root and the smaller roots within the 3 and 6 year vintages.  This crop continues to dry.

image

Once the moisture is reduced I’ll weigh the crop to see what the root yield is from this effort.

Next up is to pull some 3 & 6 year samples and see what colors I can coax out of the roots.

Below are colors from another earlier 3 year crop to give you a color comparison preview.  It will be fascinating to see what nature has in store for the roots when they meet the dye pot and silk.

Stay tuned!

IMG_8243

Cochineal (4 gram) on silk (93 gram)

15 Dec

Earlier this fall I collected cochineal as soon as it appeared in October. Last year I collected it after a couple of freezes. The big question, is there a color difference before or after a freeze. How motivated do I need to be to collect before a freeze?

Here is last year’s cochineal on wool/alpaca, the one on the left had cream of tarter (acid) added to push the color:
IMG_2831.jpg

Here is this year on silk before washing, no cream of tarter:

IMG_0007.jpg

I have to say I am not a fan of this bright fuchsia, but an indigo dip or an iron bath will sadden it for my eye. Part of this silk is also destined for a Texas madder root over dye. Here it is after rinsing and drying, color toned done some.   Can you believe only 4 grams of fresh cochineal gave this depth of color on 93 grams of silk?

IMG_6586.JPG

Some folks have asked me if I collect all at once, nope! I collect a little at a time until I have about half a pudding cup. I keep that cup secured in a jar on my dye patio to protect it from bug hungry marauding raccoons and wrens.

IMG_6068.jpg

The entire harvest goes into a slow simmer and is strained and processed at least 3 times thru my coffee filter. You can see how it gradually sinks as the web gives up the bug color.

I will say if one decides to collect your own cochineal, take your time, listen to the cactus wrens and watch out for the snakes!

IMG_6071-1.jpg

IMG_6080-0.jpg

IMG_6083-1.jpg

IMG_6082-1.jpg